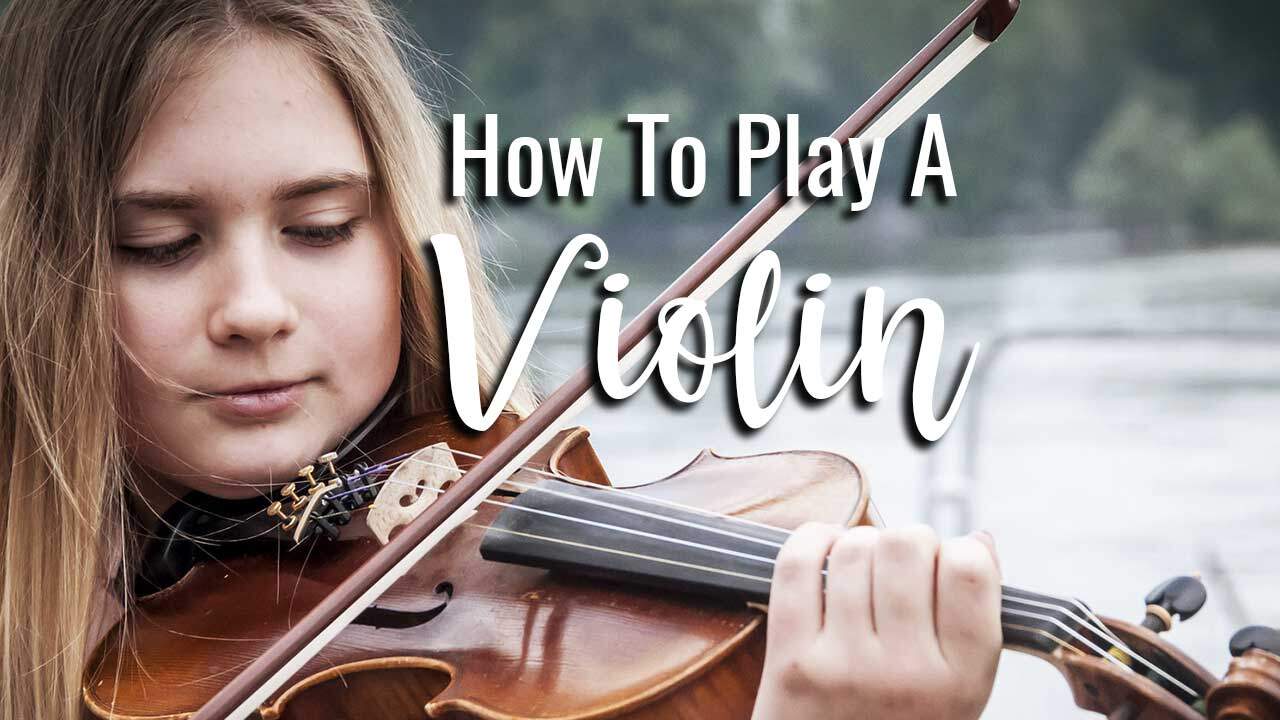
Learn the absolute best basics on how to play a violin in this quick and easy starter guide!

![]()
A Quick Starters Guide For New Violinists On How To Play The Violin
A violin is a four-stringed musical instrument that is played with the help of a bow and your fingers. It entails putting the instrument under your chin, as your left shoulder supports it in a relaxed manner.
With the help of your left hand, the sounding length of the strings is regulated by pressing them against the fingerboard, creating different notes.
Sound is produced through vibration when you draw the bow across the strings, and the bow comes in contact with the strings. Alternatively, you can also pluck the strings to create a different sound rather than using a bow. This method is known as pizzicato.
The following steps will help you learn the basics on how to play violin.
![]()
Use the correct posture
If you are standing, stand straight with your knees apart the same width as your shoulders, and relax your knees.
When seated, use a firm chair and sit straight towards the front part of the chair, place your left foot slightly forward for a more comfortable position.
![]()
How to hold the violin
Ease your hand, wrist and left shoulder. The parts of your body directly involved should be comfortably relaxed and free.
Hold the violin parallel to the floor with your elbow bended to an angle, and your fingers pointing to your eyes. Your elbow should be under the center of the violin.
![]()

![]()
Place the violin against your chin and left shoulder. Place the violin on the soft spot behind your left collar bone and rest the left side of your jaw on the violin by tilting your head slightly and carefully pressing your chin down on the chin rest.
Place one finger on each string. With your wrist gently rounded, your fingers should be positioned in a slightly curled manner, parallel to one another; the proper hand position should have a small window in between.
When curling your fingers, the thumb should be facing the index finger in a curved, backwards C position, with an open space in between the thumb and the index finger.
![]()
How to hold the bow
With your right hand at ease, turn your wrist slightly to the left. Place your thumb at the bottom of the bow with your index finger on top of the thumb creating a ring.
Then, let your other fingers drop into place. Your ring finger should be in line with the other three fingers to create balance.
![]()

![]()
Hold the violin and the bow together. Position the bow between the fingerboard and the bridge. Place the bow on the strings. This position is known as “con arco.” With your right arm bent at a 90° angle, draw the bow against the strings in a straight line.
The bow should always remain straight and parallel to the bridge, and should not bend in any direction for it to perform accordingly.
A loud sound can be produced by drawing the bow with heavy pressure near the bridge. For a softer sound, use a light bow pressure and draw the bow close to the fingerboard.
![]()
Basic finger positions
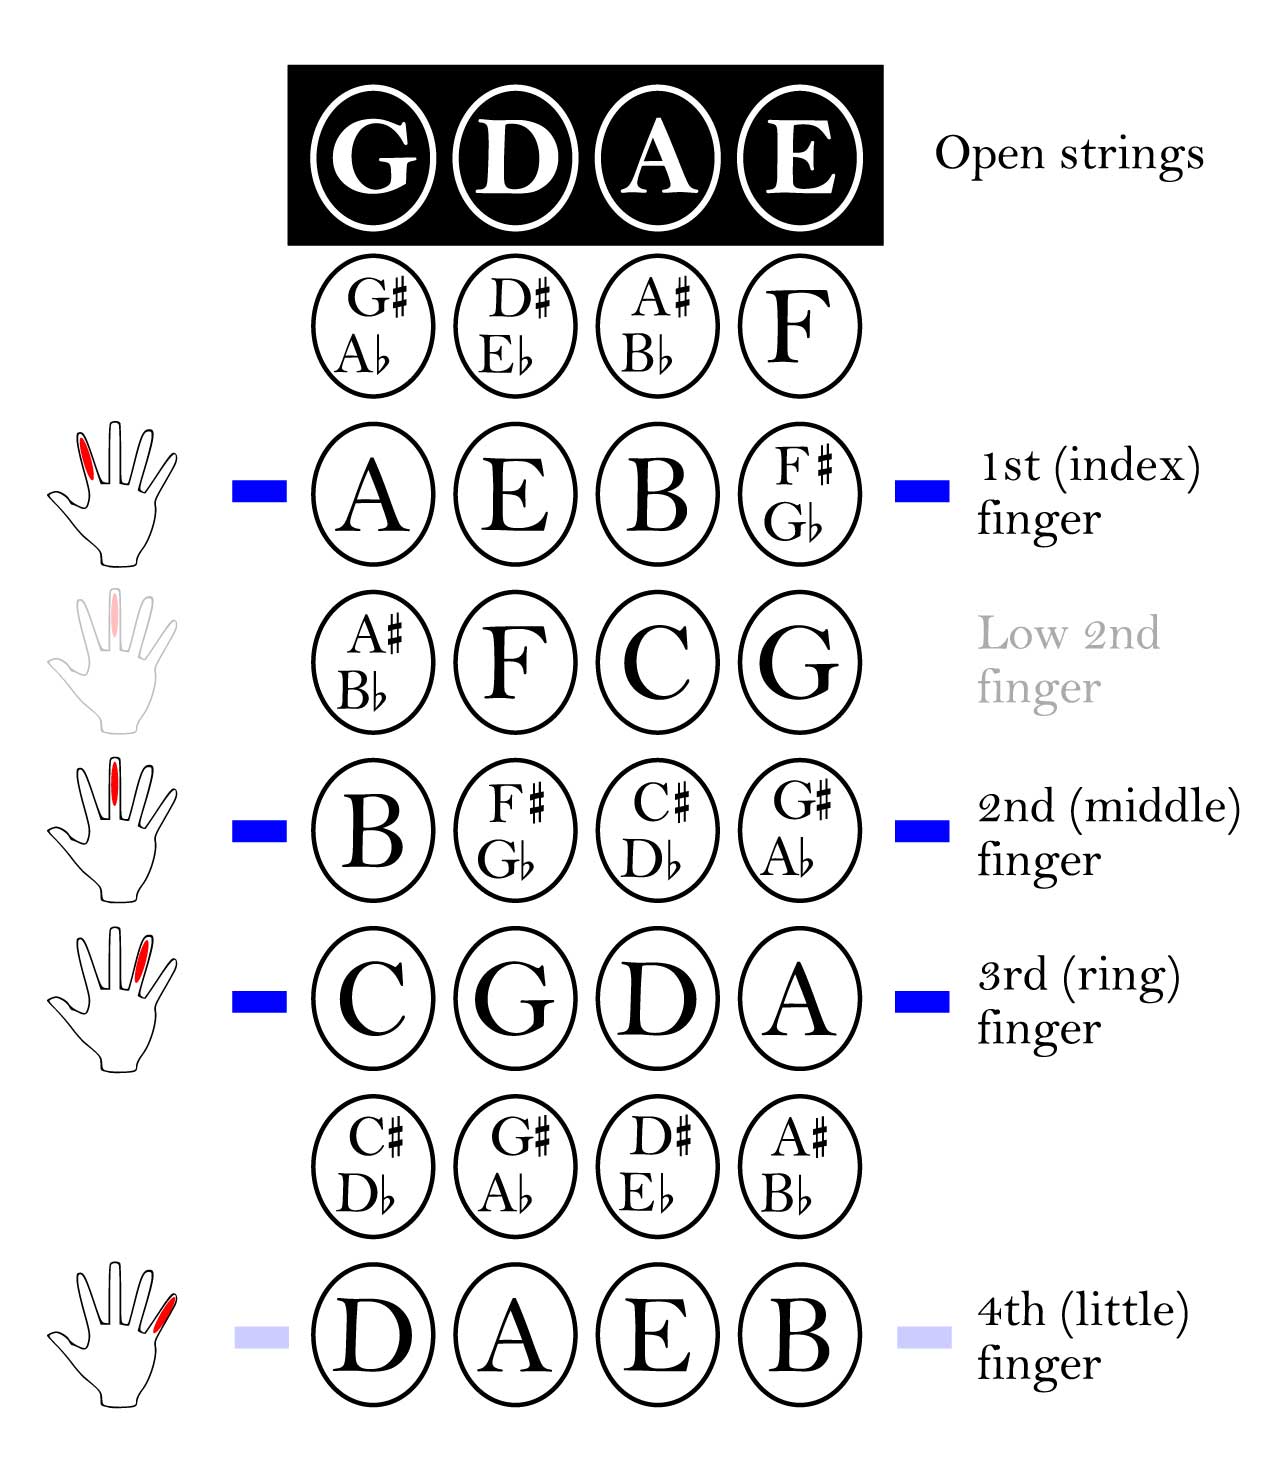
Overall, there are fifteen violin finger positions including the half tones. The basic positions are from the first to eighth positions. Note that the position changes depending on the placement of your fingers.
Remember to arrange your fingers first on the note that you want to play before drawing the bow as this is easier. Change notes using the slide technique.

- First position—This position is the nearest to the nut or the scroll end, and the furthest from your face. In this position, the hand is low on the fingerboard. Thus, on the A string, finger 1 will play B in first position
- Third position—In this position, finger 1 will move up to the location where the third finger is placed when playing the first position
- Fifth position—This position can be easily learned after you’ve mastered third position. Fifth position is placed higher on the fingerboard, close to where the body of the violin starts. This position is played by sliding finger 1 to the place where finger 3 is placed in the third position
- Second position—This position can be quite confusing since it closely resembles the first position with just one finger off. For this position, place finger 1 on the spot where finger 2 is located in the first position
- Fourth position—Located between the third and fifth positions, it is helpful when you play the third position and you want to lengthen your note range to avoid crossing strings. This is also helpful when you want to play a slightly lower note without having to change strings
- Sixth position—Has the same fingering as the second position
- Seventh position—Has the same fingering as the third position
![]()
Practice and Instruction
Like anything worthwhile, the benefits only come after the work has been put in. Learning how to play a violin is not necessarily an overnight process, but the rewards of being able to play music will last a lifetime!
A solid practice regimen will produce results faster. We recommend at least 20 minutes per day for new violinists, or more if possible.
Last but not least, getting qualified instruction and using good reference materials is key. Whether you seek private instruction, or take advantage of free violin lessons through Youtube, the best violin lessons for any individual are a matter of simply knowing what’s out there.
To get a good head start, check out our article featuring some of the best resources and instructors for online violin lessons here.
![]()

Leave a Reply